


Mission - Railroad Spike - Act 3 and Mission Debrief
A D23 Entry for Red Rocks' Shadow - zwoshea.itch.io/rrsash or https://www.drivethrurpg.com/product/422566/Red-Rocks-Shadow

Act 3
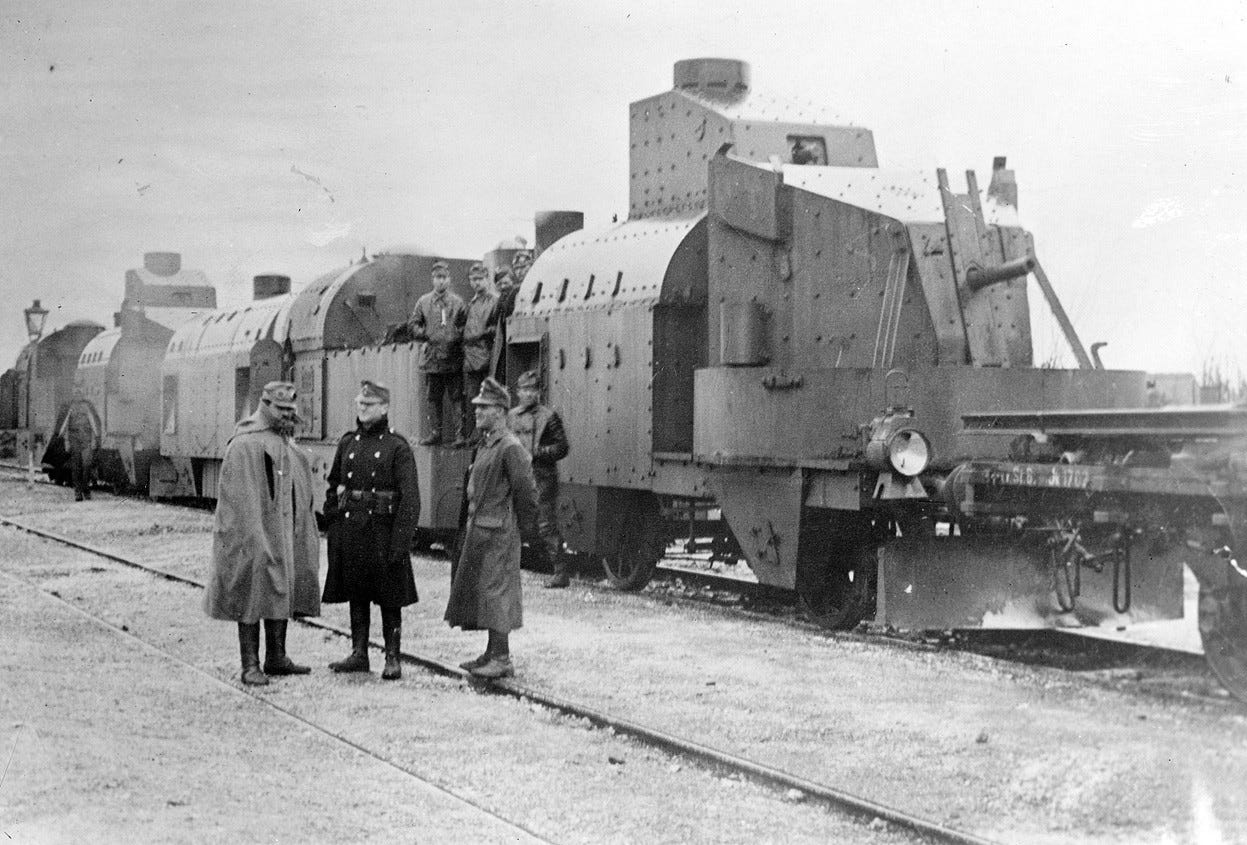
Military Flat Cars
As the Rumberg Rail Line Train comes out of the tunnel, sunlight streams back in through the windows. Continuing further up the train and to the intended target, the rescue of Professor Monika Krahl, means contending with the Merovingian military police aboard the train, the Railroad Spikes. It is possible that the Deserters already interacted with some of the spikes if they aided Viktor Drake in unknowingly robbing the cargo car. The Railroad Spikes are in charge of train security and universally a surly lot. Kept from the frontlines due to ailments even all their cruor-augments cannot quite compensate for (often self-destructive behavior or other mental maladies), the Railroad Spikes will desperately cling to any shred of pride they have left. They are universally uncomfortable to behold, even to themselves. All of this, the shame, the self-loathing, and the fractured spirit manifests as proud if cantankerous warriors.
The Railroad Spikes aboard the train today know only one thing, that they are under attack by a hostile force. It may be air pirates, enemy special forces, or some sort of supernatural force they’ve heard broken soldiers wax on about. They will likely view the Deserters as hostile at first glance, and it is hard to convince them otherwise. Hard, but not impossible. Command should entertain the possibility of parlay with the Railroad Spikes if the Deserters approach the situation and play their cards right. They won’t be too keen on the Deserters wanting to ‘rescue’ one of their scientists who are already on the run for suspected espionage, nor are their minds flexible enough to believe in Cabal Command and full-fledged demons. But, these sticking points aside it is possible for the Deserters to talk their way forward. Or, they could just resort to violence.
The Flat Cars are two combined areas that have a Near, Close, and Far segment - the Far segment being the other flat car. Each car is protected by 1-meter tall walls of piled sandbags and empty barrels. Each car also has two machine gun emplacements in case of sustained enemy attack. Due to said sustained enemy attack, several dead and wounded soldiers litter the railway cars, but the Railroad Spikes that remain standing are tenacious and ready to keep fighting to the bitter end.
Each car contains 1 Spiked Fusilier for each Deserter as well as 1 Spiked Machine Gunner in a fortified emplacement in the Near Segment. In its Close Segment, it contains 1 Spiked Fusilier for every 2 Deserters and 1 Spiked Machine Gunner. Deserters may choose to take cover behind the various obstacles meant to absorb fire as they perform actions. If they do so, they suffer a -1 dice penalty but gain 1 Physical Armor until the start of their next Deserter Turn. If the firefight goes beyond 4 Sequences, at the end of that Sequence, 2 more Command Gargouilles will soar down from the clouds to attack both the Deserters and the Railroad Spikes.
The Spiked Fusilier is reprinted for ease of use.
Spiked Fusilier (Fodder)
Well-trained infantry with terrible mechanical enhancements
Health- 2
Armor 1 Physical
Attacks -
Rifle 2 Physical Harm. Close/Far
Bayonet 1 Physical Harm. Near
Maneuvers - Charge, Fix Bayonets, Take Cover
Spiked Machine Gunner
Well-trained infantry with terrible mechanical enhancements and a machine gun
Health- 3
Armor 2 Physical
Attacks -
Machine Gun, 3 Physical harm, Close/Far
Mow Down, 2 Physical Harm AOE, Close
Maneuvers - Concentrate Fire, Reload, Take Cover
The Gargouille is reprinted for ease of use.
Gargouille (Command, Fodder)
Poor souls with jetpacks anchored to their spines and made into monsters by mechanics. Moves 2 range increments.
Health- 8
Attacks -
Claws 2 Physical Harm. Hits 2 Targets. Near.
Darkbolt 2 Profane Harm. Near/Close/Far
Grenade 2 Physical Harm, AOE. Near/Close
Maneuvers -Bombing Run, High Fly, Screech
If the Deserters convince the Railroad Spikes to let them pass, it will be 4 Command Gargouilles that attack instead as the Deserters are crossing. The Railroad Spikes with fight alongside the Deserters, dealing 2 Physical Harm to a target of the Deserters’ choice at the end of the Deserter Phase. If the Deserters side with the Railroad Spikes, besides being on good terms with them going forward, they also gain 1d6 Vials gifted to them by the Railroad Spikes for aid in repelling the ‘air pirates’.
Climax
Either way, it is almost easy going for the Deserters from here on out. Past the gun emplacements are a series of VIP cars, the first of which is where Professor Monika Krahl resides. It is a mess inside, with many of the guards and some of the VIPs dead thanks to a Command Coven hit squad entering from the other direction as well. However, they were defeated by the Professor and Oberstleutnant Wiebke Tanneberger who is protecting her. Wiebke used a binary weapon prototype, the Gentleman, to deal with the intruders. However, he’s been dealt grievous wounds and will soon expire and be pulled into the Vicious Circle. Command should give him just enough breath to let the Deserters explain what they are here to do. He will thank them for taking care of ‘The troublesome professor’, expiring in a melting of Cruor leaving the Gentleman behind. The distraught Monika will thank Wiekbe for his service and hopes he doesn’t suffer the next time around. Wiekbe’s demise will also tear open a temporary Vein that she and the Deserters can return to base from. Unless the Deserters royally screw it up, Monika will leave with them.
Debrief
At least 1 Deserter survived the Military Flat Car encounter and made it back to Base - 1 Investment for each Deserter involved in the Mission.
The Gentleman Binary Weapon was recovered - this weapon can now be used by 1 Deserter. In addition, the Base Weaponsmith now sells the Gentleman - Cost 10 Vials. The Deserter gains the Gentleman Binary Weapon.
The Gentleman
Alpha Mode: Saber 2 Physical Harm. Fast. Omega Mode: Revolver 2 Physical Harm. Ammo. Brutal.
Alpha Mode
Bloody the greatest of foes. Spend 2 Cruor. Until the end of the round, deal 2 additional Harm to targets with 5 or greater Health.
Upgrade. Spend 2 Cruor. The saber gains the Foolkiller Tag until the end of the round.
Switch
The Gentleman gains Parry until the end of the turn.
Omega Mode
Rain hell on your enemies. Spend 1 Cruor to ignore a failed Ammo roll.
Upgrade. When a target you can see drops below 5 health, spend 1 Cruor to make an attack against that target with the Revolver.
Remember to any Vials, Trophies, or other rewards from Hidden Objectives.
Professor Monika Khral, Cruor Engineer now becomes a Friendly Civilian Ally at the Deserters’ current base.
This opens up two new missions: Forget Me Not and Ranch Hand.
Not sure what all this means or just want to get started with a Red Rocks’ Shadow campaign yourself? Check out the Red Rocks’ Shadow Ashcan Edition available RIGHT NOW on Itch.io and DriveThru RPG. It’s half-price, $5.00 USD, for the month of January.